
You already know granola bars are one of the easiest grab-and-go snacks. What many people miss is that store-bought versions often cost more and may contain extra sugar, oils, or additives. In this guide, you’ll learn exactly how to make granola bars at home, customize them for your goals, and store them for the week ahead.
Key Takeaways
- Homemade granola bars are snack bars made from oats, binders, and mix-ins that can be customized for nutrition and flavor.
- Ingredient control is the biggest advantage of making granola bars at home because you choose the sugar, fat, and add-ins.
- No-bake granola bars rely on sticky binders and chilling, while baked bars offer a firmer texture and longer shelf life.
- Oats, nut butter, honey, maple syrup, dates, nuts, and seeds are the most common base ingredients for homemade bars.
- Proper pressing, cooling, and slicing techniques help prevent crumbly or broken granola bars.
- Batch-prepped bars save money and provide quick snacks for school, work, or workouts.
- Storage in airtight containers or freezers helps homemade granola bars stay fresh longer.
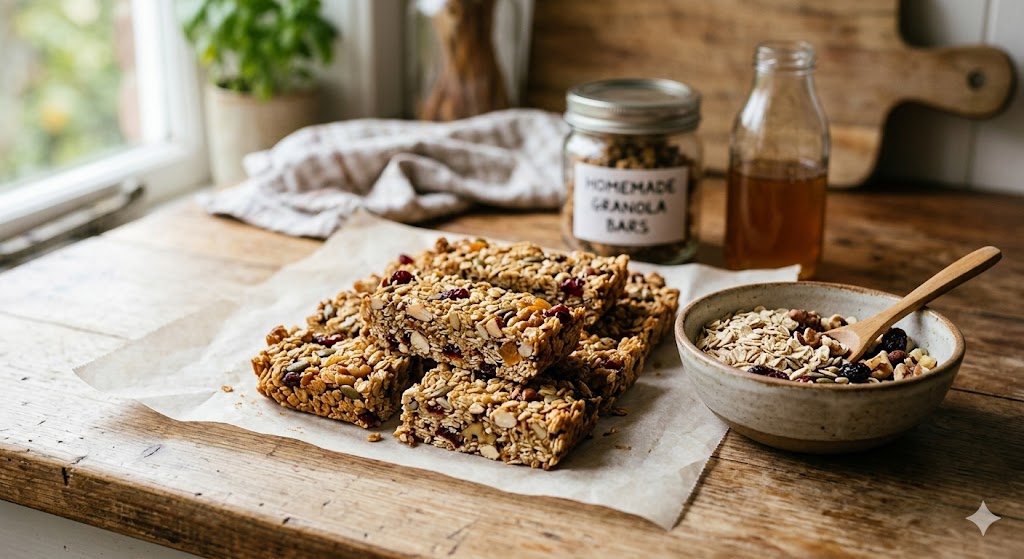
What Are Homemade Granola Bars?
Homemade granola bars are snack bars made with oats, a binding ingredient, and optional mix-ins such as nuts, seeds, or dried fruit. They are designed to be portable, filling, and easy to prepare in batches.
First, store-bought bars often include preservatives, syrups, or flavorings to improve shelf life. By contrast, homemade bars let you use real ingredients you already trust. For example, you can choose rolled oats, peanut butter, pumpkin seeds, and raisins.
Second, granola bars can be soft, chewy, crunchy, baked, or no-bake depending on the method. This means one base recipe can create many snack styles for different needs.
Moreover, oats remain the most common foundation because they are affordable and versatile. Oats also contain fiber that supports fullness — Source: Harvard T.H. Chan School of Public Health, 2024.
healthy snack ideas for busy mornings
Why Making Granola Bars at Home Matters
Making granola bars at home matters because it gives you control over ingredients, cost, freshness, and nutrition. That control is the main reason many people switch from packaged bars to homemade versions.
First, sugar levels are easier to manage. Many packaged snack bars use multiple sweeteners. At home, you can use smaller amounts of honey, maple syrup, or blended dates.
Second, homemade bars are often cheaper per serving. For example, a batch made from oats, seeds, and peanut butter can produce 8 to 12 bars for the price of a few premium store bars.
Third, portion size becomes customizable. You can cut mini squares for kids or larger bars for workouts.
In addition, meal prepping snacks can reduce impulsive food purchases. Meal planning is associated with healthier dietary habits in several population studies — Source: International Journal of Behavioral Nutrition, 2023.
budget friendly homemade recipes
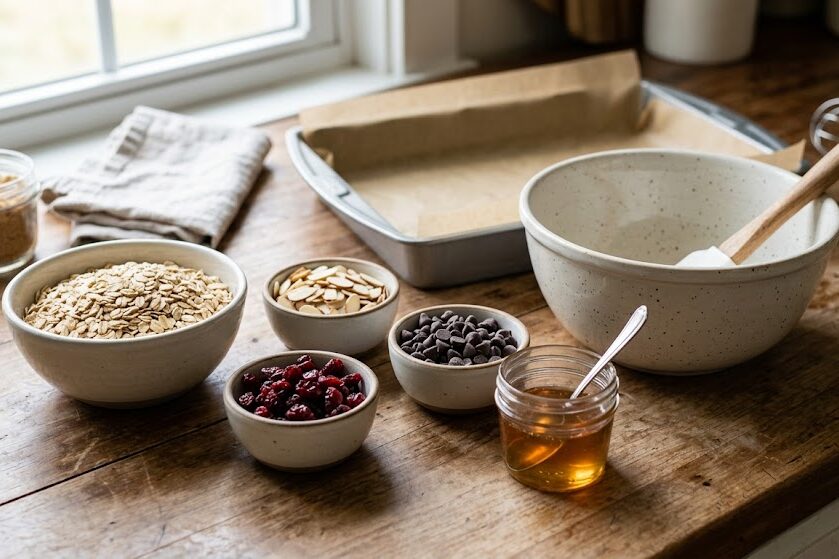
What Ingredients Do You Need for Homemade Granola Bars?
Homemade granola bars need a base, a binder, optional healthy fats, and flavor add-ins. Once you understand these categories, creating your own recipe becomes easy.
Base Ingredients
First, oats are the classic base because they absorb moisture and create structure. Rolled oats usually give the best chewy texture. Quick oats create softer bars.
For example, use 2 cups rolled oats for one standard 8-inch pan.
Binders That Hold Bars Together
Binders are sticky ingredients that keep granola bars from crumbling. Common binders include:
- Honey
- Maple syrup
- Nut butter
- Mashed dates
- Brown rice syrup
- Seed butter
For example, peanut butter plus honey creates a chewy, reliable texture.
Add-Ins for Flavor and Nutrition
Second, mix-ins improve taste and nutrition. Popular options include:
- Chopped almonds
- Walnuts
- Pumpkin seeds
- Sunflower seeds
- Chia seeds
- Dried cranberries
- Dark chocolate chips
- Coconut flakes
- Cinnamon
Nuts and seeds provide healthy fats, protein, and crunch. Tree nuts and peanuts are linked with improved diet quality when used in balanced diets — Source: American Heart Association, 2024.
best nuts and seeds for nutrition
Quick Ingredient Ratio Table
| Component | Standard Amount | Purpose |
|---|---|---|
| Oats | 2 cups | Base structure |
| Nut Butter | 1/2 cup | Binding + protein |
| Liquid Sweetener | 1/3 cup | Sweetness + stickiness |
| Seeds/Nuts | 1/2 to 1 cup | Crunch + nutrition |
| Add-ins | 1/4 to 1/2 cup | Flavor |
How Do You Make Granola Bars at Home Step by Step?
You make granola bars at home by mixing dry ingredients with binders, pressing the mixture into a pan, and setting it by chilling or baking. The process is beginner-friendly and usually takes under 30 minutes of active work.
Easy No-Bake Granola Bars Recipe
First, no-bake granola bars set in the refrigerator. They are ideal when you want speed.
Ingredients
- 2 cups rolled oats
- 1/2 cup peanut butter
- 1/3 cup honey
- 1/4 cup chopped nuts
- 2 tbsp seeds
- 1/4 cup chocolate chips (optional)
Steps
- Warm peanut butter and honey until smooth.
- Mix in oats, nuts, and seeds.
- Press firmly into a parchment-lined pan.
- Chill for 2 hours.
- Slice into bars.
No-bake granola bars set in the refrigerator, while baked granola bars firm up in the oven.
easy no bake desserts and snacks
Easy Baked Granola Bars Recipe
Second, baked bars have a firmer bite and toastier flavor.
Steps
- Preheat oven to 175°C / 350°F.
- Combine ingredients as above.
- Press into lined pan.
- Bake 18 to 22 minutes.
- Cool fully before slicing.
For example, cooling on a rack helps bars hold shape better.
Are No-Bake or Baked Granola Bars Better?
No-bake and baked granola bars are both useful, but the better option depends on texture, time, and storage needs.
Choose No-Bake Bars If You Want:
- Faster prep
- Softer chewiness
- No oven use
- Summer-friendly cooking
Choose Baked Bars If You Want:
- Firmer texture
- Toasted flavor
- Longer room-temperature stability
- Cleaner slices
That being said, many meal preppers make both. Soft bars work for kids, while baked bars travel better in bags.
How Do You Keep Homemade Granola Bars from Falling Apart?
Granola bars usually crumble when the mixture lacks enough binder or is sliced before fully cooling. This is one of the most common beginner mistakes.
Fix #1: Increase the Binder
First, if bars break apart, add more nut butter, honey, or date paste. Even 1 to 2 extra tablespoons can help.
Fix #2: Press Firmly Into the Pan
Second, compression matters. Use the bottom of a measuring cup to press the mixture tightly.
Fix #3: Cool Completely
Third, slicing warm bars causes cracks. Let baked bars cool fully or chill no-bake bars first.
Fix #4: Chop Add-Ins Smaller
Large nuts or fruit chunks create weak spots. Smaller pieces bind better.
Proper pressing, cooling, and slicing techniques help prevent crumbly or broken granola bars.
What Are the Best Variations and Custom Recipes?
Granola bar variations let you match your snack to fitness goals, allergies, taste preferences, or family needs. A single base recipe can create many outcomes.
High-Protein Granola Bars
First, add protein powder, hemp seeds, or extra nut butter. Use a splash of milk if the mixture gets dry.
For example, adding 20 grams of protein powder can significantly raise total protein per batch.
Vegan Granola Bars
Use maple syrup instead of honey and seed butter instead of dairy-based ingredients.
Gluten-Free Granola Bars
Use certified gluten-free oats and check all labels.
Low-Sugar Granola Bars
Use mashed dates or unsweetened applesauce with less syrup.
Kid-Friendly Bars
Use mini chocolate chips, cinnamon, and smaller bar sizes for lunchboxes.
Are Homemade Granola Bars Cheaper Than Store-Bought Bars?
Homemade granola bars are often cheaper than premium store-bought bars because staple ingredients can produce multiple servings.
First, oats are one of the most affordable pantry foods. Peanut butter, seeds, and honey also stretch across many recipes.
Second, buying ingredients in larger packs lowers cost per bar over time. For example, a family that makes weekly batches may save substantially compared with buying branded snack bars.
Moreover, homemade bars reduce packaging waste. This can help both budget and sustainability goals.
Tools, Examples, and Practical Applications for Homemade Granola Bars
The best tools for homemade granola bars are simple kitchen basics that improve speed, consistency, and cleanup.
Useful Tools
- Mixing bowl
- Measuring cups
- Silicone spatula
- 8-inch square pan
- Parchment paper
- Food processor (for dates or nuts)
- Sharp knife
Practical Uses
First, bars work well for weekday breakfasts with yogurt or fruit.
Second, they are easy lunchbox additions.
Third, they serve as a quick pre-workout snack 30 to 60 minutes before exercise.
Fourth, they help students carry affordable snacks between classes.
Fair Tool Alternatives
You do not need special equipment. A bowl and spoon can work. However, a food processor saves time when using sticky dates.
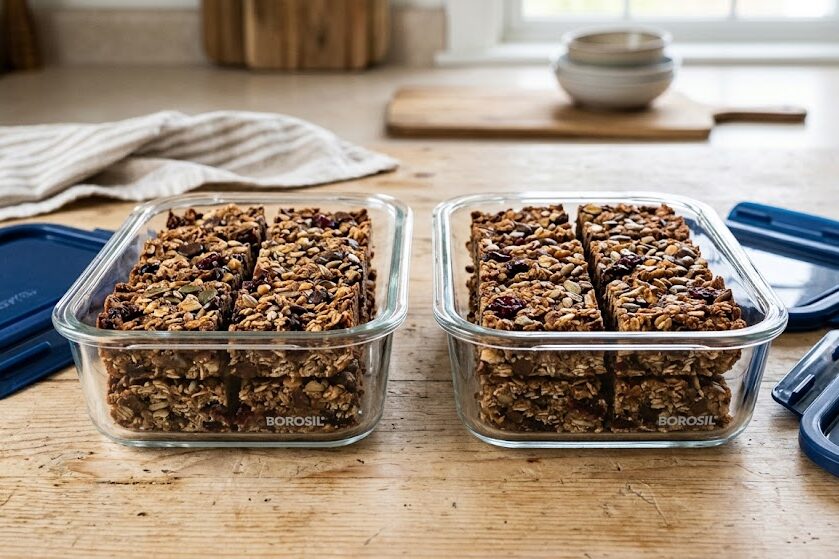
How Long Do Homemade Granola Bars Last?
Homemade granola bars last about 1 week at room temperature, around 2 weeks refrigerated, and up to 3 months frozen when stored properly. Exact shelf life depends on moisture and ingredients.
Storage Best Practices
First, keep bars in an airtight container.
Second, place parchment between layers.
Third, refrigerate bars with fresh fruit or extra moisture.
how to store homemade food safely
Freezer Method
Wrap bars individually, place in a freezer bag, and label the date. Thaw overnight in the fridge or at room temperature for 20 to 30 minutes.
Can homemade granola bars be frozen for meal prep? Yes, freezing is one of the easiest ways to preserve weekly or monthly batches.
What’s Next: How to Store, Freeze, and Meal Prep Granola Bars
The next step after learning the recipe is building a repeatable snack routine. Consistency matters more than complexity.
Simple Weekly Plan
- Choose one base recipe.
- Make one batch every Sunday.
- Slice into portions.
- Refrigerate half.
- Freeze the rest.
Rotation Ideas
Week 1: Peanut butter chocolate
Week 2: Fruit and nut
Week 3: High protein
Week 4: Cinnamon raisin
By rotating flavors, you can avoid boredom and stay consistent.
easy meal prep for beginners
weekly grocery list for healthy eating
Conclusion
Making granola bars at home is one of the easiest ways to create healthier, cheaper, and more personalized snacks. You now know the key ingredients, step-by-step methods, common fixes, and storage strategies.
Start with one simple base recipe, test one variation, and improve it each week. Small kitchen habits can create long-term healthy snacking success.
Written by: Suraj 5+ Blogger — SEO content writer and health-focused blog creator specializing in practical, beginner-friendly guides.
Reviewed by: Editorial Nutrition Review Team — Content reviewers focused on recipe accuracy, food safety, and evidence-based wellness education.
Disclaimer: This article was initially drafted using AI assistance. However, the content has undergone thorough revisions, editing, and fact-checking by human editors and subject matter experts to ensure accuracy.